In this article you will learn how to convert images from Virtualbox to KVM.
Intro#
In this article i will explain a quick way to convert VirtualBox images (vdi) into qcow2 and load them in KVM.
Why#
This is something i normally do, because i get better performance running Linux VM’s on KVM and saves me some space with qcow2 volume format.
qcow2 Features#
One of the main characteristics of qcow disk images is that files with this format can grow as data is added. This allows for smaller file sizes than raw disk images, which allocate the whole image space to a file, even if parts of it are empty
Requirements#
- You should have KVM configured correctly
sudo apt-get install qemu-kvm
- Install qemu-utils
sudo apt-get install qemu-utils
- Let’s get an example image.
- I’m fetching one from http://www.osboxes.org/ubuntu. (ex: Ubuntu 17.10 10th-August build (64bit).vdi)
NOTE: Procedure executed with qemu-img version 2.5.0
Converting#
- Convert the image
qemu-img convert -f vdi -O qcow2 Ubuntu_17.10.vdi Ubuntu_17.10.qcow2
- You can check the image details by executing
qemu-img info Ubuntu_17.10.qcow2.
qemu-img info Ubuntu_17.10.qcow2
image: Ubuntu_17.10.qcow2
file format: qcow2
virtual size: 100G (107374182400 bytes)
disk size: 4.1G
cluster_size: 65536
Format specific information:
    compat: 1.1
    lazy refcounts: false
    refcount bits: 16
    corrupt: false
- Now lets Upload this image to our KVM pool and create a new VM from it:
sudo virsh vol-create-as default ubuntu-17.10 100G --format qcow2
sudo virsh vol-upload --pool default ubuntu-17.10 Ubuntu_17.10.qcow2
Start virt-manager and select Import existing Disk Image
The default password for this images are
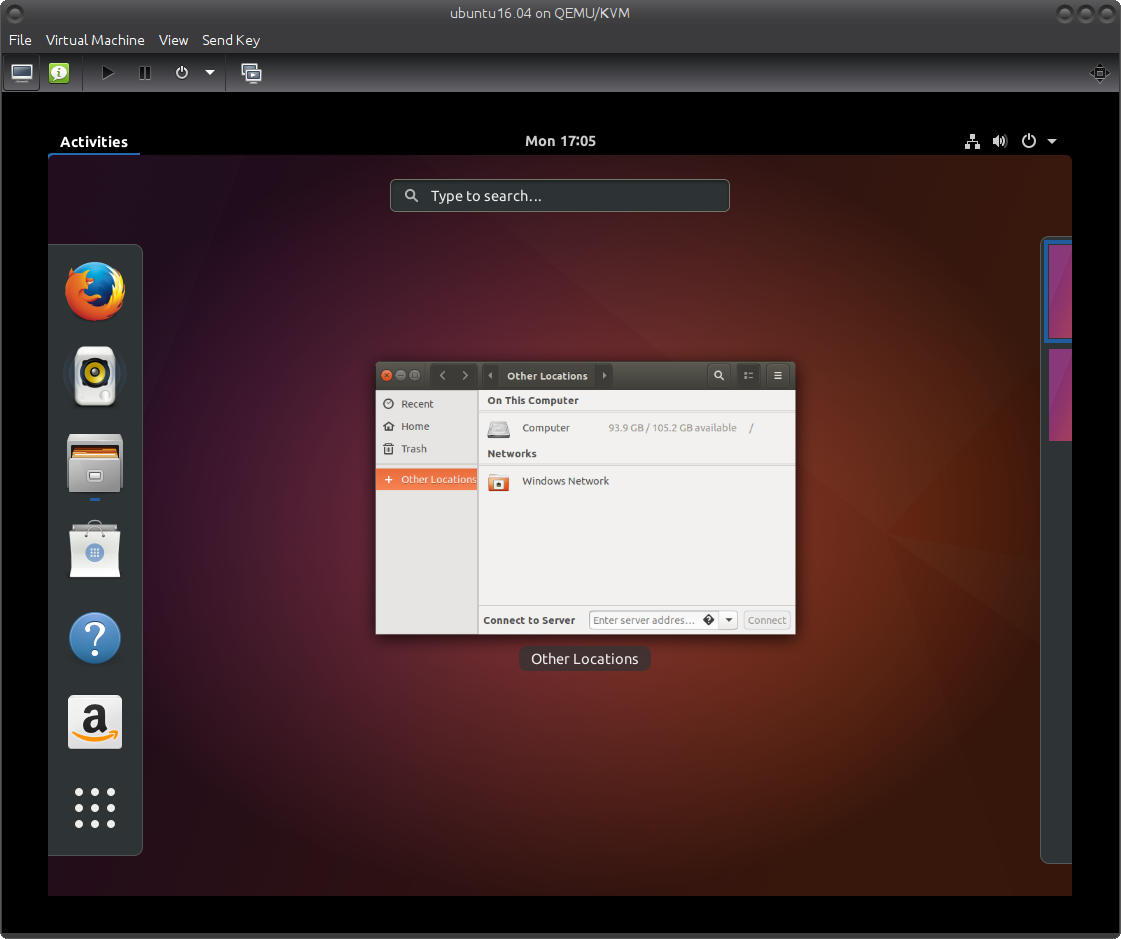
osboxes.org. You should have something like the following in the console.

- If you want to create brand new images you could use virt-install, but that one would go to another article.
Cheers, RR